ユーザーを認証する
MIZUHIKI アイデンティティ SDK は、日本における法令準拠の電子本人確認(eKYC)を、シンプルかつ便利な方法で完了するための機能を提供します。ユーザーを認証フローに誘導するための組み込み UI をご利用いただけます。
事前にSDK インストールガイドの手順を完了していることをご確認ください。
1. SDK の初期化
MIZUHIKI チームから取得したプロジェクト ID を渡して、SDK インスタンス(モックまたは本番)を作成します。このインスタンスを通じて、すべての MIZUHIKI ID 機能にアクセスできます。
必須: YOUR_PROJECT_ID を、ベータアクセス設定時に MIZUHIKI チームから提供された実際のプロジェクト ID に置き換えてください。
- iOS
- Android
import MizuhikiIdentityCore
import MizuhikiIdentityMock
import MizuhikiIdentity

// Define your app environment with MIZUHIKI Identity SDK client
class AppEnvironment: ObservableObject {
    // Replace with your actual project ID from the MIZUHIKI team
    private let mizuhikiProjectId = "YOUR_PROJECT_ID"

    lazy var mizuhiki: IdentityClient = {
        #if DEBUG
        // Use mock environment for development and testing
        return MizuhikiIdentityMock.makeClient(projectId: mizuhikiProjectId)
        #else
        // Use production environment for release builds
        return MizuhikiIdentity.makeClient(projectId: mizuhikiProjectId)
        #endif
    }()

    // Shared instance for app-wide usage
    static let shared = AppEnvironment()
}

// Usage in SwiftUI
struct ContentView: View {
    @StateObject private var appEnv = AppEnvironment.shared

    var body: some View {
        VStack {
            Text("MIZUHIKI Identity SDK Ready")
            // Use appEnv.mizuhiki for all MIZUHIKI Identity SDK operations
        }
        .environmentObject(appEnv)
    }
}
import android.content.Context
import androidx.compose.runtime.Composable
import androidx.compose.runtime.remember
import androidx.compose.ui.platform.LocalContext
import io.mizuhiki.identity.adapter.mock.MizuhikiMockFactory
import io.mizuhiki.identity.adapter.prod.MizuhikiProdFactory
import io.mizuhiki.identity.core.IdentityClient

// Helper class to manage MIZUHIKI client lifecycle
class MizuhikiManager private constructor() {
    companion object {
        // Replace with your actual project ID from the MIZUHIKI team
        private const val PROJECT_ID = "YOUR_PROJECT_ID"

        fun createClient(context: Context, useMock: Boolean = BuildConfig.DEBUG): IdentityClient {
            return if (useMock) {
                // Use mock environment for development and testing
                MizuhikiMockFactory.makeClient(context, PROJECT_ID)
            } else {
                // Use production environment for release builds
                MizuhikiProdFactory.makeClient(context, PROJECT_ID)
            }
        }
    }
}

// Usage in Composable
@Composable
fun HomeScreen() {
    val context = LocalContext.current
    val mizuhikiIdentityClient = remember(context) {
        MizuhikiManager.createClient(context)
    }

    // Use mizuhikiIdentityClient for all MIZUHIKI Identity SDK operations
    Text("MIZUHIKI Identity SDK Ready")
}
重要事項:
- 🔑 プロジェクト ID: MIZUHIKI アイデンティティ SDK の認証情報に記載された ID と一致している必要があります
- 🏗️ 環境: 開発時はモック、リリース時は本番環境を使用してください
- 💾 インスタンス管理: アプリセッションごとにクライアントインスタンスを 1 つ作成してください
- 🔄 ライフサイクル: 接続管理はクライアントが自動的に行います
2. 組み込み MIZUHIKI UI を使用して KYC を完了する
MIZUHIKI アイデンティティ SDK には、ユーザーを KYC プロセスに誘導するための組み込み UI フローが含まれています。
KYC プロセスには以下の画面が含まれます:
- プロセスの説明を表示するイントロダクション画面
- 暗証番号入力画面
- マイナンバーカードのスキャン手順画面
- NFC スキャン中の画面
- 完了画面
MIZUHIKI APIを使用して独自のUIを利用したい場合は、お知らせください。
ユーザー情報のフォーマット
KYC 完了後、SDK はユーザーの個人情報(氏名、生年月日、住所、性別)を JWE オブジェクトとして暗号化して返します。 この JWE をバックエンドに送信し、復号・処理を行ってください。モバイルアプリ内でユーザー情報(PII)を復号しないでください。
| パラメーター | 型 | 必須 | 説明 | 例 |
|---|---|---|---|---|
address | String | はい | 居住地住所 | 徳島県板野町犬伏9番8 |
dateOfBirth | String | はい | 西暦での生年月日 | 2000-12-25 |
fullName | String | はい | 氏名 | 山中 逸穂 |
gender | Enum (female | male | other) | はい | 性別 | male |
- iOS
- Android
import MizuhikiIdentityCore
import MizuhikiIdentityUI

struct ContentView: View {
    @Environment(\.appEnv) private var appEnv

    var body: some View {
        VStack {
            Button(action: kyc) {
                Text("KYC")
                    .padding(8)
                    .fontWeight(.semibold)
                    .frame(maxWidth: .infinity)
            }
        }
    }

    @State private var signedUpUser: MizuhikiIdentityCore.User?
    private func onSignUp() {
        MizuhikiIdentityUIBridge.present(config: .init(client: appEnv.mizuhiki)) { event in
            switch event {
            case .didStart:
                break
            case .didFinish(let result):
                self.signedUpUser = result.user
                // submit the encrypted JWE to your backend for decryption and storage, see details in the next step
                submitEncryptedPii(jwe: result.kycDetails)
            case .didCancel:
                break
            }
        }
    }
}
package com.example.dapp

import android.os.Bundle
import android.util.Log
import androidx.activity.ComponentActivity
import androidx.activity.compose.setContent
import androidx.activity.enableEdgeToEdge
import android.content.Context
import androidx.compose.foundation.layout.Arrangement
import androidx.compose.foundation.layout.Column
import androidx.compose.foundation.layout.fillMaxSize
import androidx.compose.foundation.layout.padding
import androidx.compose.material3.Button
import androidx.compose.material3.Scaffold
import androidx.compose.material3.Text
import androidx.compose.runtime.Composable
import androidx.compose.ui.Alignment
import androidx.compose.ui.Modifier
import androidx.compose.runtime.remember
import androidx.compose.ui.platform.LocalContext
import androidx.compose.ui.unit.dp
import androidx.compose.ui.tooling.preview.Preview
import com.example.dapp.ui.theme.DAppTheme
import io.mizuhiki.identity.adapter.mock.MizuhikiMockFactory
import io.mizuhiki.identity.adapter.prod.MizuhikiFactory
import io.mizuhiki.identity.core.IdentityClient
import io.mizuhiki.identity.ui.MizuhikiUIBridge
import io.mizuhiki.identity.ui.UIConfig


class MainActivity : ComponentActivity() {
    override fun onCreate(savedInstanceState: Bundle?) {
        super.onCreate(savedInstanceState)
        enableEdgeToEdge()
        setContent {
            DAppTheme {
                HomeScreen(name = "Android")
            }
        }
    }
}

// Helper class to manage MIZUHIKI Identity SDK client lifecycle
class MizuhikiManager private constructor() {
    companion object {
        // Replace with your actual project ID from the MIZUHIKI team
        private const val PROJECT_ID = "YOUR_PROJECT_ID"

        fun makeClient(context: Context, useMock: Boolean = (BuildConfig.FLAVOR == "mock")): IdentityClient {
            return if (useMock) {
                // Use mock environment for development and testing
                MizuhikiMockFactory.makeClient(context, PROJECT_ID)
            } else {
                // Use production environment for release builds
                MizuhikiFactory.makeClient(context, PROJECT_ID)
            }
        }
    }
}

@Composable
fun HomeScreen(name: String, modifier: Modifier = Modifier) {
    val context = LocalContext.current
    val client = remember(context) {
        MizuhikiManager.makeClient(context)
    }
    Scaffold(modifier = Modifier.fillMaxSize()) { innerPadding ->
          Column(
              modifier = modifier
                  .fillMaxSize()
                  .padding(innerPadding)
                  .padding(16.dp),
              verticalArrangement = Arrangement.Center,
              horizontalAlignment = Alignment.CenterHorizontally
          ) {
              Text(
                  text = "Hello $name!",
                  modifier = modifier
              )
              Button(onClick = {
                  MizuhikiUIBridge.present(
                      context,
                      config = UIConfig(client = client),
                      onEvent = { event ->
                          Log.i("mizuhiki-ui", event.toString())
                          when (event) {
                              UIEvent.DidStart, UIEvent.DidCancel -> Unit
                              // handle successful KYC and submit the encrypted JWE to your backend for decryption and storage, see details in the next step
                              is UIEvent.DidFinish -> onKycSuccess(event.result.user, event.result.kycDetails)
                          }
                      })
              }) {
                  Text("Start KYC")
              }
        }
    }
}
3. 暗号化されたユーザー情報(JWE)をバックエンドに転送する
KYC 完了後、アプリは JWE 形式で暗号化されたユーザーの個人情報を受け取ります。 HTTPS 経由でバックエンド API に直接渡してください。
- iOS
- Android
// Example payload you send to your backend after successful KYC
struct KycResultPayload: Encodable {
    let encryptedPiiJwe: String
}

func submitEncryptedPii(_ jwe: String) async throws {
    let payload = KycResultPayload(encryptedPiiJwe: jwe)
    // POST payload to your backend over HTTPS
}
// Example payload you send to your backend after successful KYC
@Serializable
data class KycResultPayload(
    val encryptedPiiJwe: String
)

suspend fun submitEncryptedPii(jwe: String) {
    val payload = KycResultPayload(encryptedPiiJwe = jwe)
    // POST payload to your backend over HTTPS
}
4. バックエンドで JWE を復号する
セットアップ時に生成した秘密鍵を使用して JWE を復号し、ユーザー情報ペイロードを解析します。
import { compactDecrypt, CompactJWEHeaderParameters } from "jose";
import { createPrivateKey } from "node:crypto";

type KycPiiGender = "female" | "male" | "other";

interface KycPii {
   // in ""徳島県板野町犬伏9番8" format
   address: string;

   // in "2000-12-25" basic ISO format
   dateOfBirth: string;

   // in "山中 逸穂" format
   fullName: string;
   gender: KycPiiGender;
}

interface DecryptedKycPii {
   pii: KycPii;
   protectedHeader: CompactJWEHeaderParameters;
}

export async function decryptMizuhikiPii(jwe: string): Promise<DecryptedKycPii> {
  const privateKeyPem = process.env.MIZUHIKI_PII_PRIVATE_KEY_PEM;
  if (!privateKeyPem) {
    throw new Error("Missing MIZUHIKI_PII_PRIVATE_KEY_PEM");
  }

  const privateKey = createPrivateKey(privateKeyPem);
  const { plaintext, protectedHeader } = await compactDecrypt(jwe, privateKey);

  const json = new TextDecoder().decode(plaintext);
  const pii = JSON.parse(json) as KycPii;

  return { pii, protectedHeader };
}
バックエンドの処理要件:
- JWE は TLS(HTTPS)経由でのみ受け付けてください。
- 信頼できるサーバーインフラ上でのみ復号してください。
- 生の JWE や復号された PII をログに記録しないでください。
- 復号されたデータへのアクセスには最小権限の原則を適用してください。
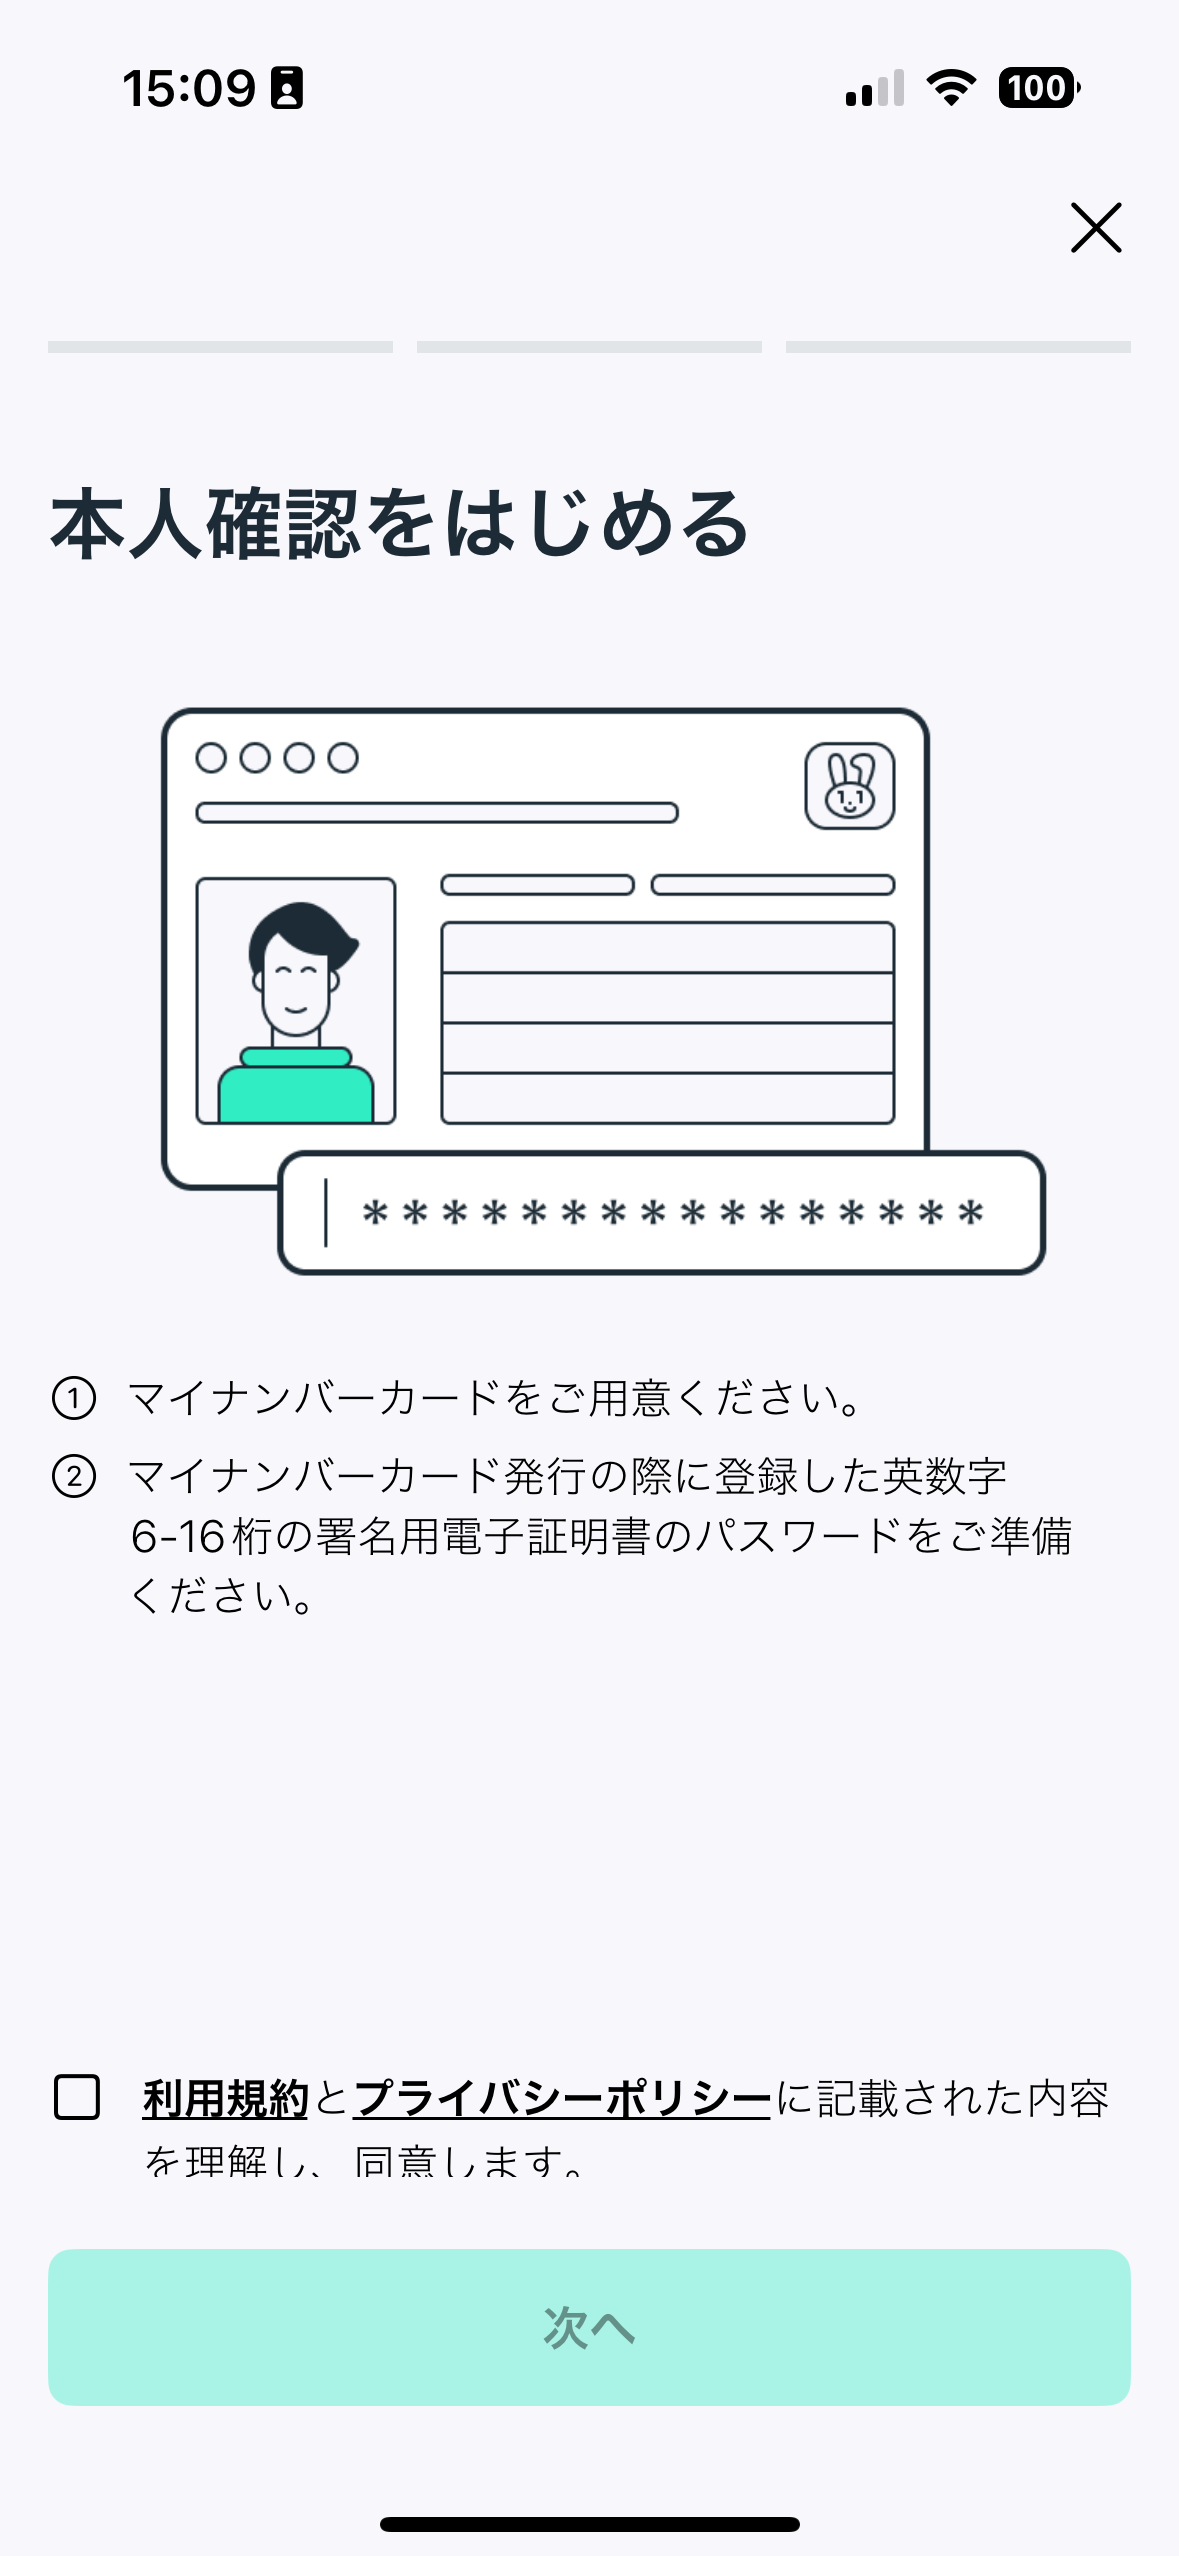
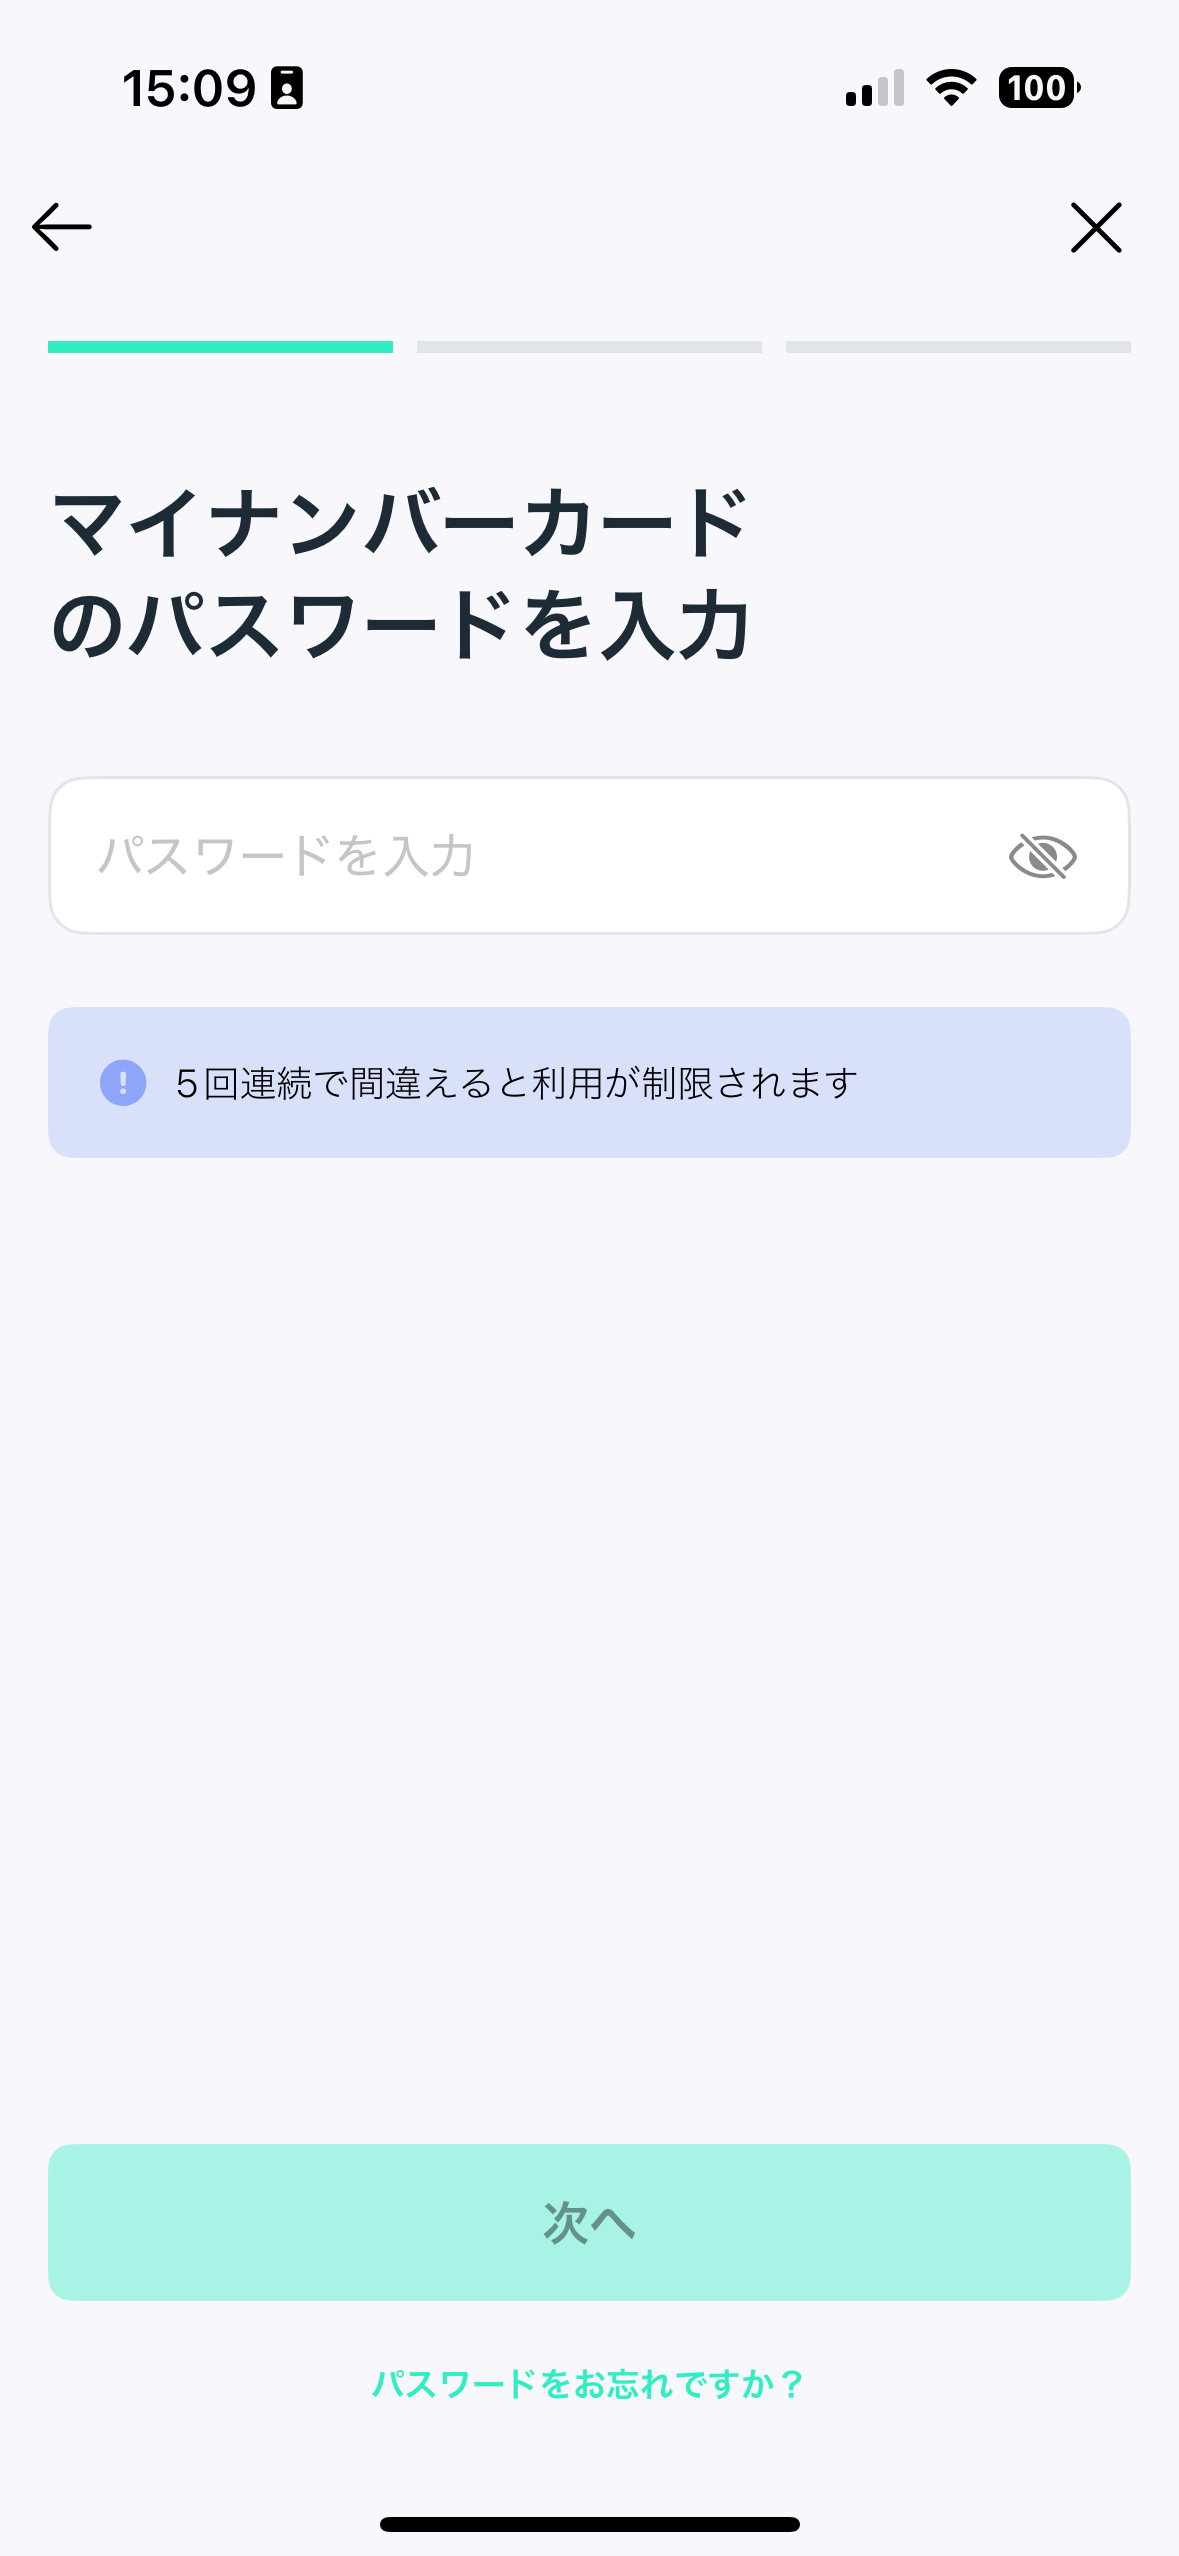
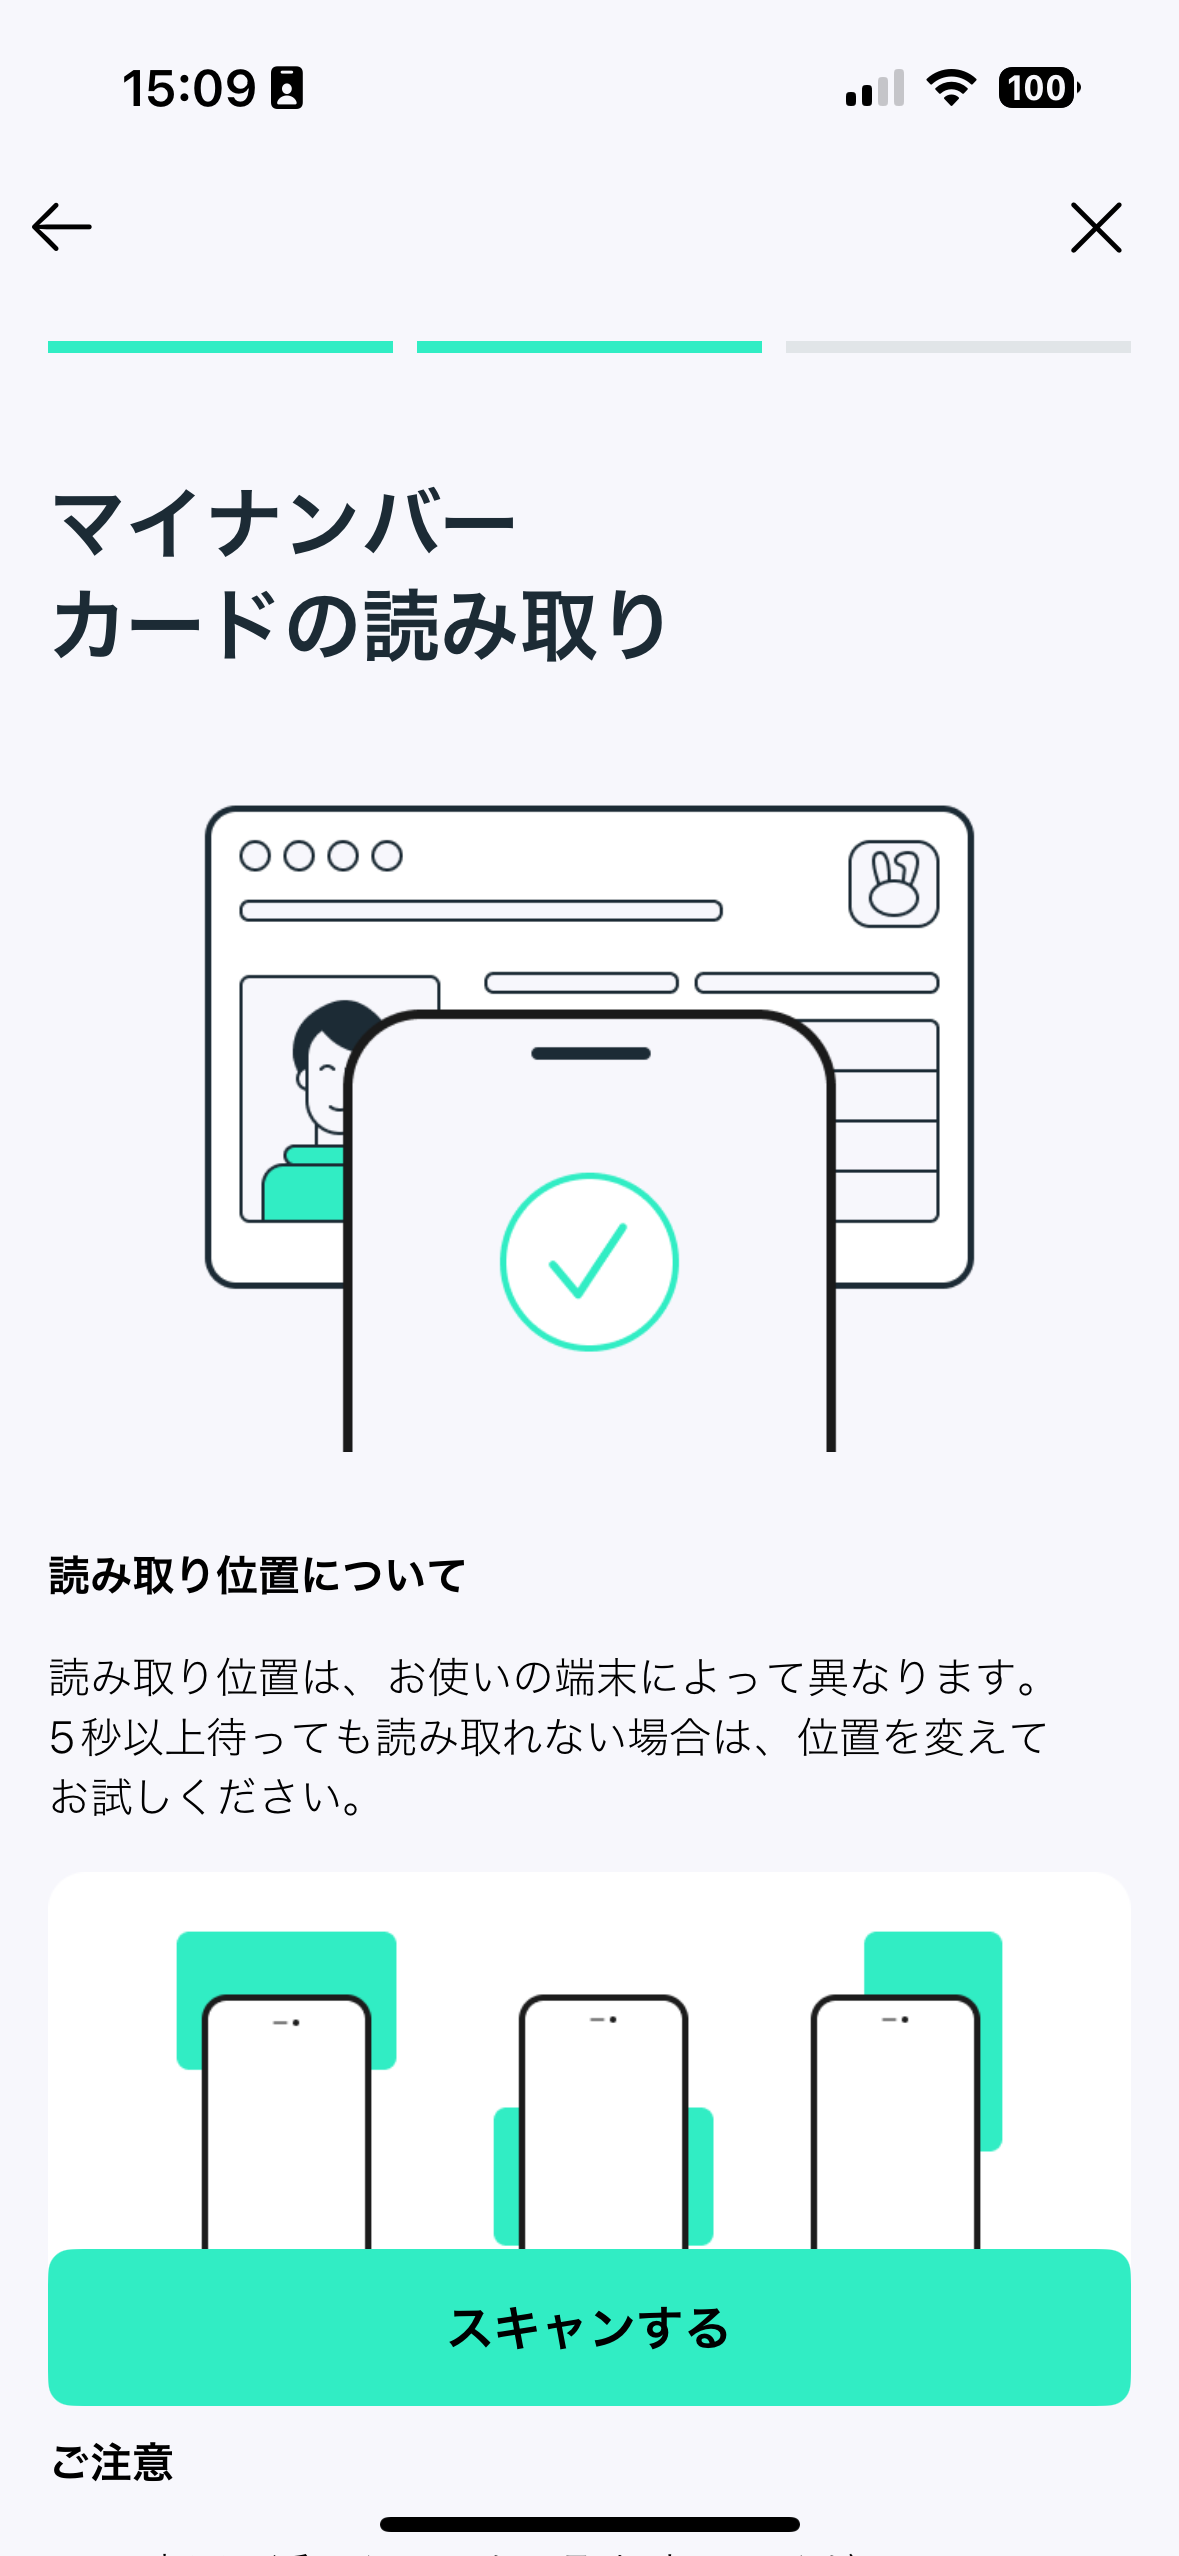
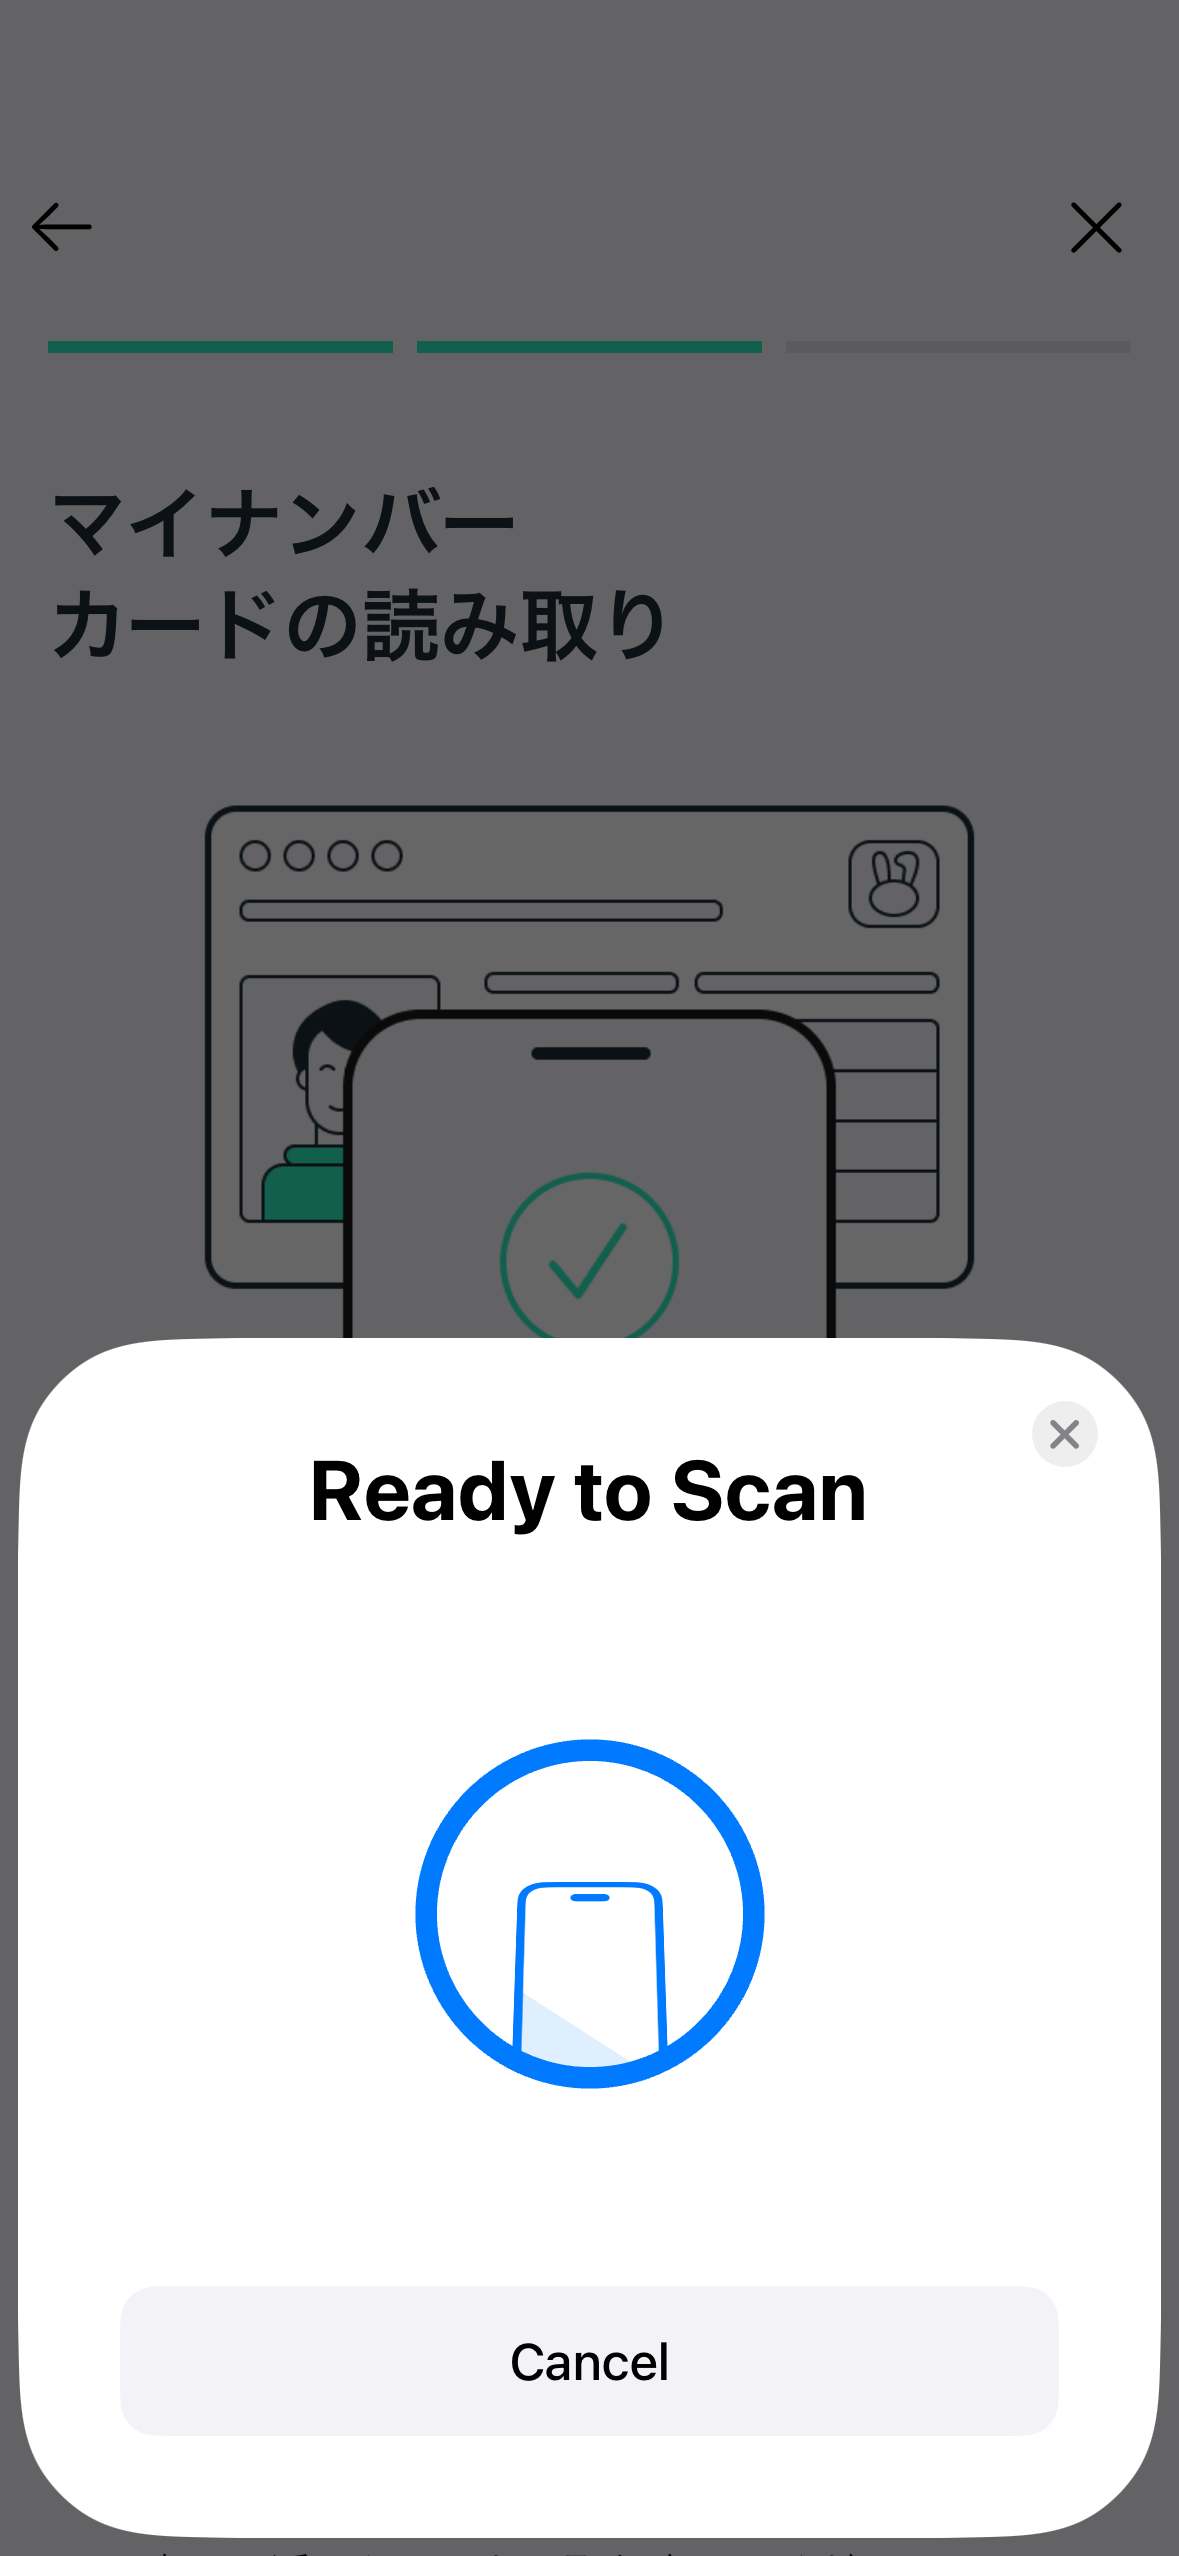
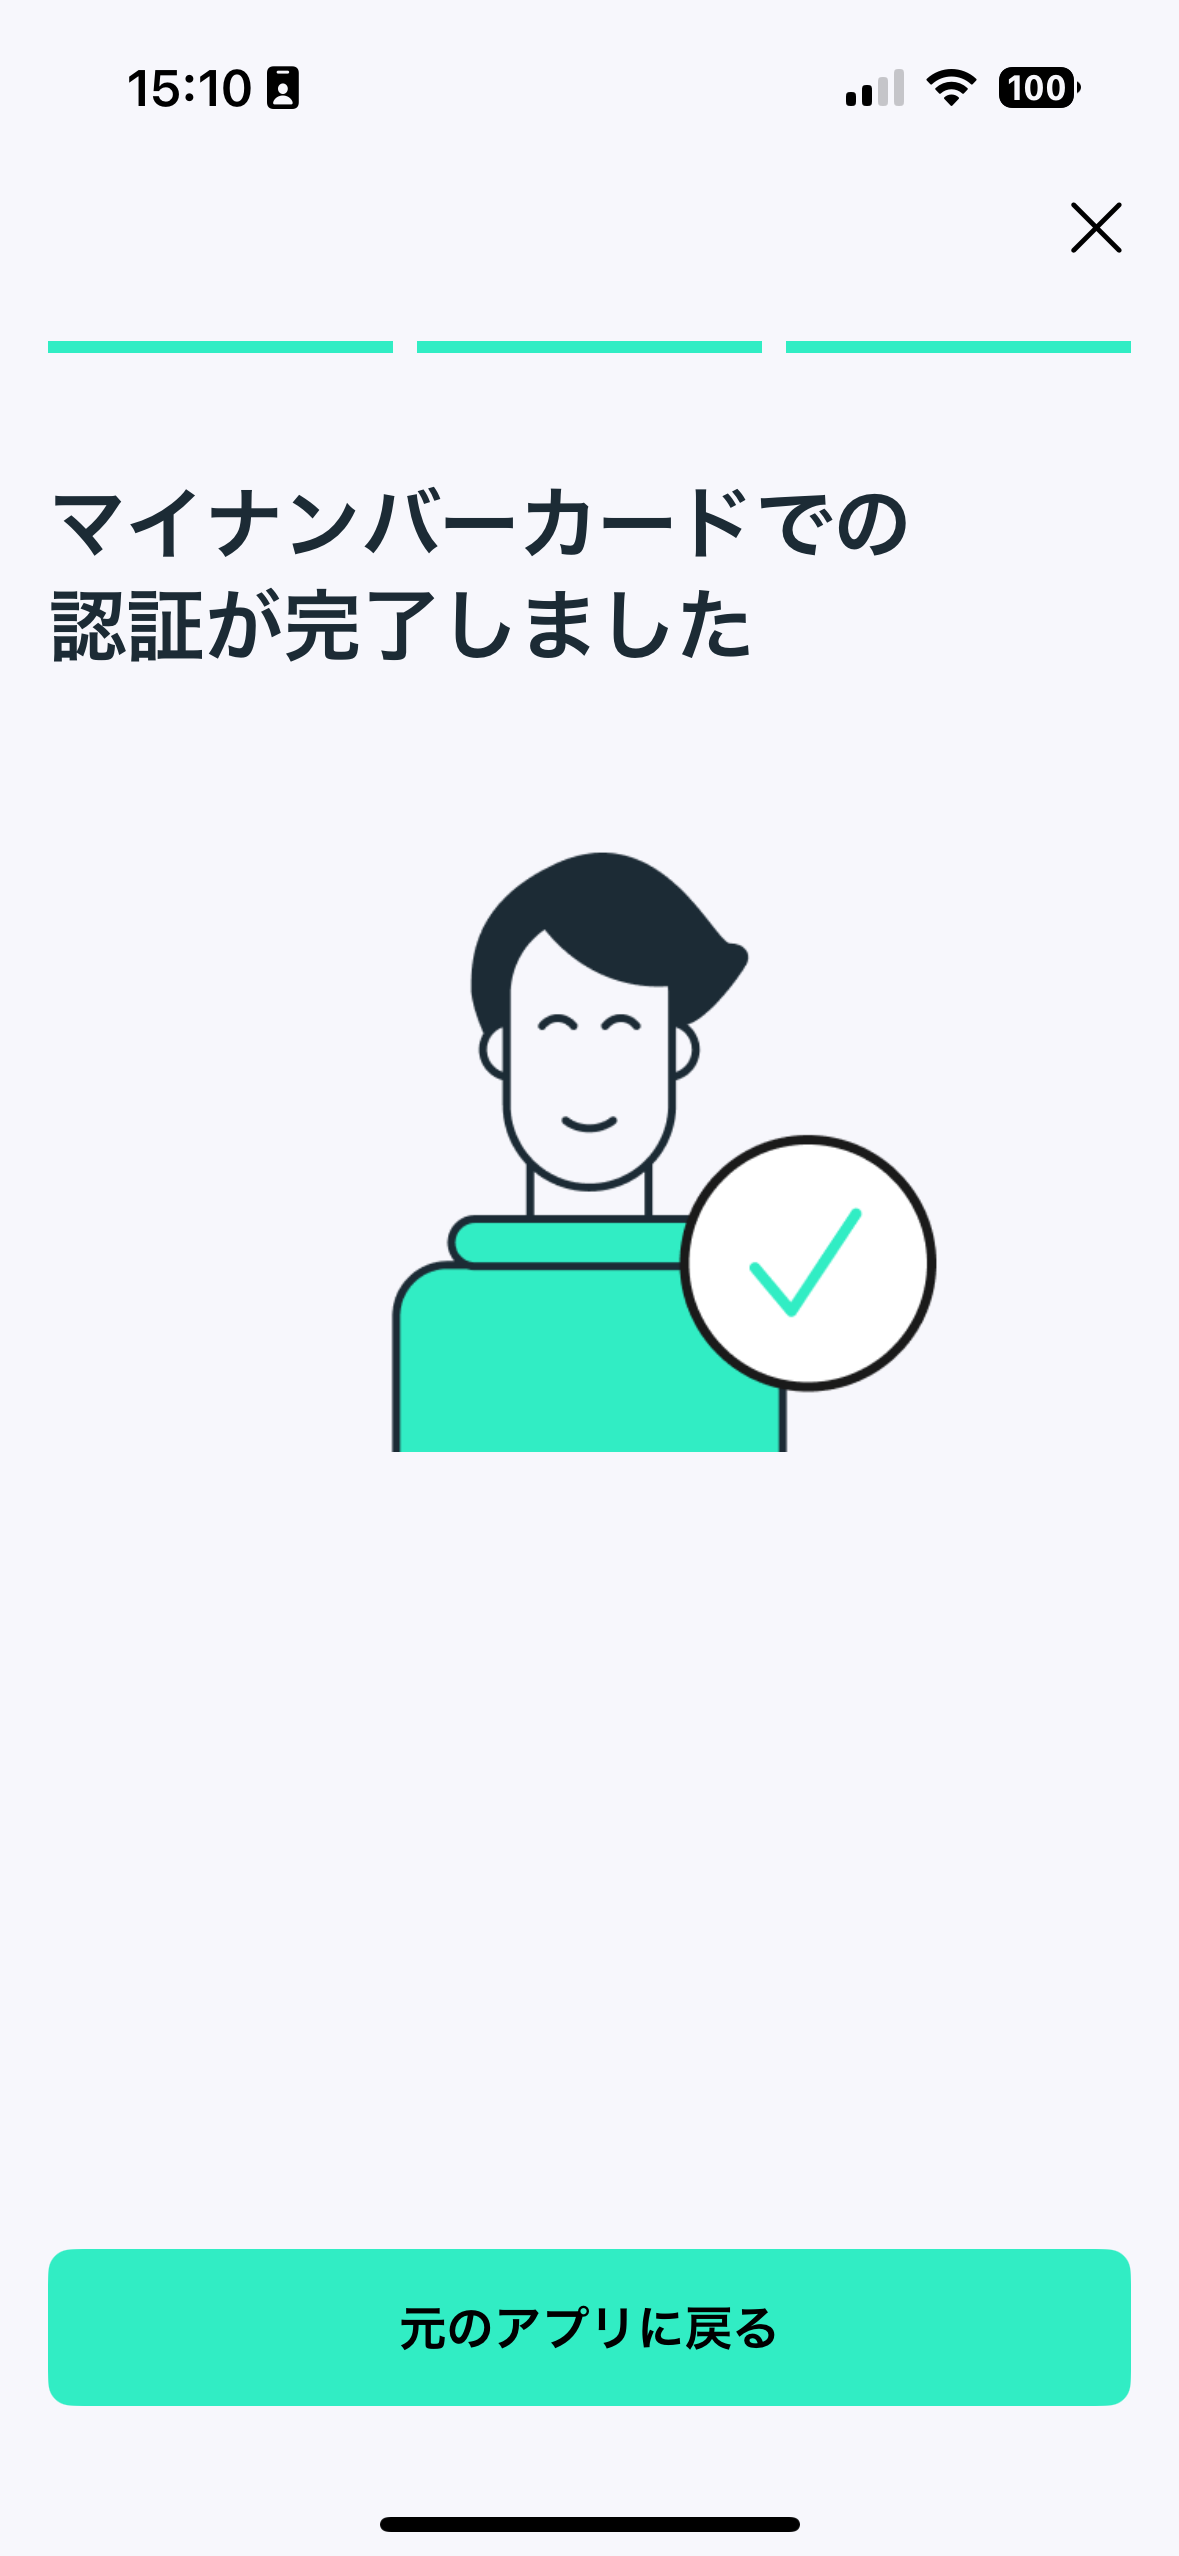
MIZUHIKI ID アプリによる本人確認フロー
次のステップ
KYC 完了後、ユーザーのアドレスに MIZUHIKI Verified(本人認証済み)ソウルバウンドトークンをミントする準備が整いました。
次へ: SBT ミントガイド →
トラブルシューティング
よくある問題と解決策
NFC 関連の問題
問題:NFC 権限が拒否された
- 症状: マイナンバーカードのスキャン時にアプリがクラッシュする
- iOS の解決策:
- Xcode プロジェクト設定で NFC 機能が追加されていることを確認してください
Info.plistにNFCReaderUsageDescriptionが含まれていることを確認してください- デバイスが NFC に対応していることを確認してください(NFC 読み取りは iPhone 7 以降)
- Android の解決策:
AndroidManifest.xmlに<uses-permission android:name="android.permission.NFC" />を追加してください- デバイスに NFC ハードウェアが搭載されており、設定で有効になっていることを確認してください
問題:カードが検出されない
- 症状: NFC スキャンでカードが検出されない
- 解決策:
- カードをウォレット・ケースから取り出してください(干渉を避けるため)
- カードをデバイスの NFC エリアに少なくとも 5 秒間静止させてかざしてください
- 位置を変えて試してください(NFC アンテナの位置はデバイスにより異なります)
- カードが破損または消磁されていないことを確認してください
認証関連の問題
問題:プロジェクト ID が無効
- 症状: SDK 使用中に認証エラーが発生する(
"message": "permission denied: invalid x-project-id") - 解決策: プロジェクト ID が MIZUHIKI チームから提供されたものと完全に一致していることを確認してください(大文字・小文字を区別します)
問題:モック環境でカードが拒否される
- 症状: モック環境で有効な FeliCa カードが拒否される
- 解決策:
- モック SDK バージョン(
mizuhiki-adapter-mock)を使用していることを確認してください - すべてのモックカードに暗証番号
ABC123を使用してください - カードが FeliCa または ISO/IEC 14443-4 Type-A 対応であることを確認してください
- モック SDK バージョン(
問題:本番環境での暗証番号ロック
- 症状: 入力ミスによりマイナンバーカードが使用不能になった
- 解決策:
- カードと身分証明書を持参してコンビニエンスストア(セブン-イレブン、ファミリーマート)に行ってください
- カードリーダー端末で暗証番号リセット手順を使用してロックを解除してください
- または:市区町村の窓口で手動解除の手続きを行ってください
統合関連の問題
問題:パッケージレジストリでのビルドエラー
- 症状: MIZUHIKI アイデンティティ SDK の依存関係を解決できない
- iOS の解決策:
# Re-authenticate with package registryswift package-registry login https://swift.cloudsmith.io/mizuhiki/compliance/ --token YOUR_TOKEN --no-confirm# Clear Xcode derived datarm -rf ~/Library/Developer/Xcode/DerivedData
- Android の解決策:
# Verify environment variable is setecho $MIZUHIKI_TOKEN# Clean and rebuild project./gradlew clean./gradlew build
問題:UI ブリッジが応答しない
- 症状: KYC UI が表示されない、またはコールバックが呼び出されない
- iOS の解決策:
- UI の呼び出しがメインスレッドで行われていることを確認してください
MizuhikiUIフレームワークがインポートされていることを確認してください- クライアントインスタンスが正しく初期化されているか確認してください
- Android の解決策:
- context が有効な Activity context であることを確認してください
- UI パーミッションが付与されているか確認してください
- UI 表示前にクライアントが作成されていることを確認してください
サポートが必要な場合
上記で解決できない問題が発生した場合:
- SDK バージョンを確認: 最新の SDK バージョンを使用していることを確認してください
- サポートへ連絡: 以下の情報を添えて [email protected] にメールしてください:
- SDK バージョンとプラットフォーム(iOS/Android)
- 環境(モック/本番)
- 完全なエラーメッセージとスタックトレース
- 最小限の再現コードの例